Table of Contents
Following up on Part 1 of my series, recording the podcast, we now need to edit the recording. The steps can be a little tedious but having good sound quality makes the difference between a good and an amateur production. In this post I’m only going to cover the basic steps that I follow to edit the podcast. I won’t be documenting every step, things like splitting the stereo channel and when to do that while editing is up to you. This will only cover the major points.
The following steps are what I do for each Drupal Easy podcast I process (in order.)
Initial editing
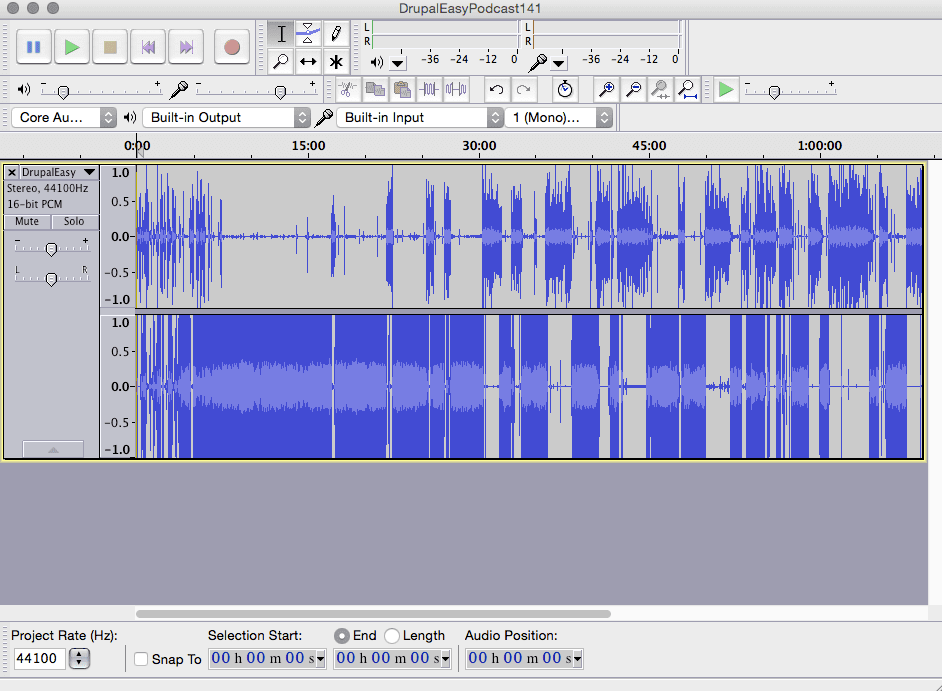
I do all my editing in Audacity. It’s free, open source and cross platform. Sure it’s not as pretty as some other editing software but it will do the job of editing a podcast without breaking a sweat.
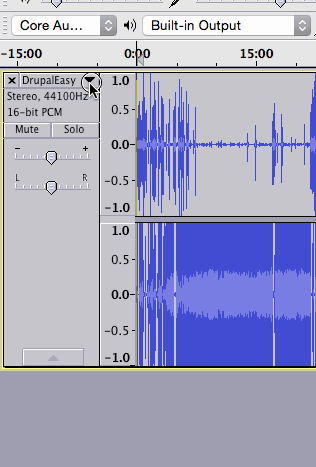
When you open up your m4a file in Audacity you should see a single file with two channels in stereo. One of the channels should be your audio while the other is everybody else. I’d recommend you brush up on splitting stereo tracks in Audacity, when to do it, why you would and gotchas to watch out for.
Cleanup your audio
It would be great if all audio was crystal clear right from the microphone but that is rarely true. At a bare minimum please run “noise removal” on each track to remove the hissing in the background. This will make your audio sound cleaner and help out The Levelator. Since we’ll be compressing at a constant bitrate it won’t affect the overall size of the MP3.
Edit out the not-so-good parts
Once the tracks are cleaned up, use the selector tool to highlight an area that you wish to cut. Once its selected, cut it out and like magic, it will be like it never happened.
Two things to note when chopping out content:
- If your tracks are split, make sure you cut out of both tracks (top and bottom) or your your tracks will become out of sync.
- Please do edit out “umms”, “ahhs” and overly long pauses but don’t make the speech so perfect that the speaker sounds like a Borg. Make sure it sounds natural.
Export the file
At this point I tend to move the two tracks to stereo and then mix the Stereo Track to Mono since it gets processed quicker by The Levelator.
For the next step you’ll need to export the file as either a WAV or an AIFF file so it can be consumed by The Levelator. I usually export it in AIFF but I’ve never really found a difference between that and WAV. The file you are exporting is just a temporary file, we’ll delete it before it’s all done.
At this point we haven’t added in the music yet. This is on purpose.
The Levelator 2
The Levelator is a great piece of software that sadly has been discontinued (but you can still download it.) It will do things like adjust the overall audio levels, add slight compression (wave form compression, not file compression) and make everything sound overall better. All you need to do is run the program and drag the file you exported over to it and let it run for a while.
Once it’s done, take the .output.aiff file that was created and re-import it into Audacity.
Note: The Levelator does not work well with music so always add in the music after this step.
Music & Compression
Now that you have your nicely leveled mono file, open it back up in Audacity. Import your intro music (or whatever music you’ll use - make sure it’s mono) as a new track and line it up/crop it as needed.
If you need to fade in our out the audio use the Fade In or Fade Out plugins.
You might want to check out Auto Duck if you need to have audio going while a person is talking. Here’s a video since the manual can be a little difficult to grok.
Once you have all your tracks lined up (make sure they are all mono) you’ll want to export the file again. This time you’ll be exporting it in mp3 format. The encoding options are entirely up to you but if it’s just spoken word and some intro music I usually encode it at a Constant Bitrate, 64kbps, Joint Stereo. Don’t let the Joint Stereo part fool you, we’re still exporting mono.
Adjusting the Bitrate will directly affect the size of the file. Try exporting at a few different rates to compare the file size vs audio quality.
Identifying information
Now that we have a working MP3 file you need to make sure it has the right info in it. MP3s have an embedded meta format called ID3. There are a ton of programs that allow for the editing of the ID3 but I use ID3 Editor for OS X.
I won’t go into detail here but I fill out all the fields in the primary screen and attach a PNG of the logo. This logo is important since it will show up as your cover art in quite a few podcast applications.
The end?
At this point you have an MP3 with proper ID3 tags. Its up to you where you post the MP3 for public consumption. In the old days there were just a few places to post that MP3 but now there are hundreds of related sites and applications. This is all beyond the scope of the post so I’ll leave it up to your search skills.